


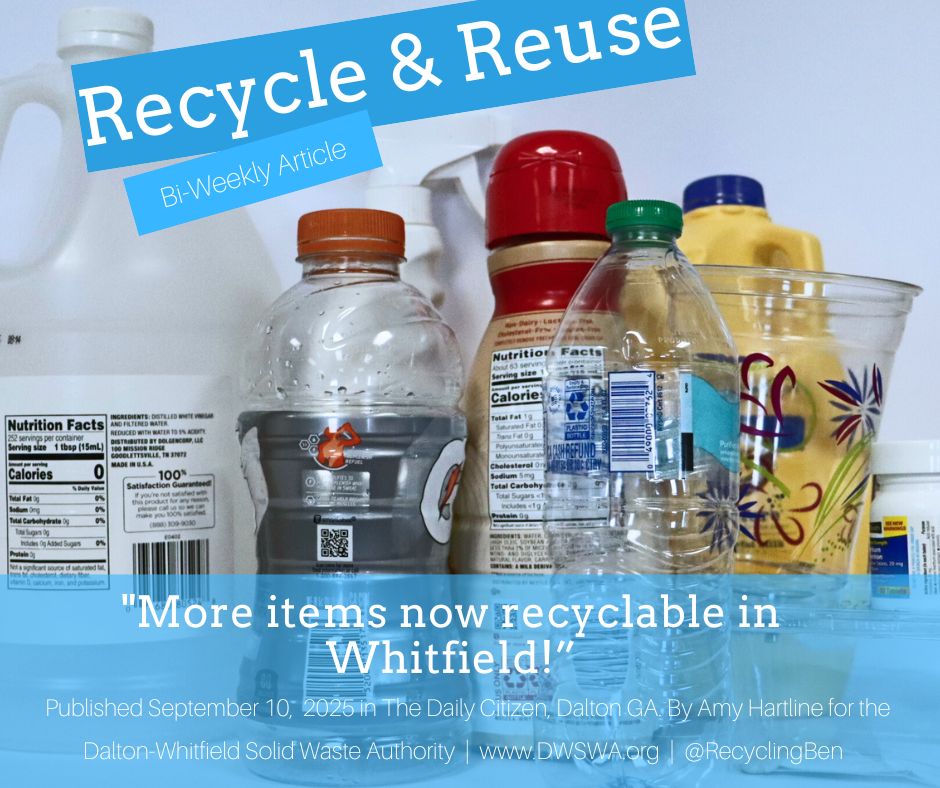


Using Worms to Lower Waste With Vermicomposting
/When you have spotted earthworms, have you ever stopped to look at the soil they are emerging from? If you have, you will have noticed how healthy and dark the earth they are inhabiting looks. Worms are there to help decomposition and create that nutrient-rich soil you see. We can use their abilities to help us create our own healthy soil and cut down our landfill usage at the same time through vermicomposting!

What is Vermicomposting?
Vermicomposting takes composting to the next level. It lets you mix “green waste” such as food waste with “brown waste” such as shredded newspaper to create compost that can mix with soil to create a healthy garden environment. What makes vermicomposting unique from typical compost is that you will add in worms to help create the compost and speed up the composting process significantly.
Because the worms help with the compost it moves much faster than traditional composting and requires less work. You don’t have to take a shovel and turn your compost every time you throw out a scrap, you simply place it in and let the worms go to work. Vermicomposting can be especially great if you are low on space because it can be done in much smaller bins.
How do you get started?
You need to know how much food you throw away each day. Worms eat half their body weight in food per day. If you produce one pound of waste each day, the American standard, you will need two pounds of worms and enough room for that many worms. You can increase the amount you need based on your family size though it is recommended to not go above 55 gallons per bin or under 15 gallons.
Getting the right supplies
Now, you can look into what bin you want. If you are starting vermicomposting for the first time, I recommend buying a bin instead of making your own though there are many tutorials on how to DIY a vermicomposting bin. You’ll want to make sure your bin is pest-safe and has a way to dispose of liquid, sometimes called “worm tea” that will collect at the bottom. Buying a bin that has multiple trays can make compost collection easy.
After you’ve decided on a bin, make sure you have all of the other necessary supplies. Start with the bedding to make your bin hospitable for worms. Order a coconut coir brick online and follow the instructions to wet and expand it. It is optional, but recommended to go ahead and add small amounts of soil, dead leaves, and sand or limestone into the mix as well before introducing the worms to their new home. Add in one or two banana peels or apple cores to get the microbes started a few days before introducing your worms.
Finally, order your worms online looking for Red Wigglers or European Nightcrawlers. Then, you can introduce the worms to their bin by putting them in the bedding. The first night you will want to shine a bright light on the worms to force them to into their bedding. Because the worms hate the light they will burrow further into their new home. After the first night place a worm blanket over the top layer and secure the lid. Wait a week before beginning to feed your wiggly friends!
Start Composting!
You can now feed your worms as you would a typical compost just make sure you are carefully monitoring your bin for the health of your worms and not overfeeding them. If you regularly go to put in scraps and still see uneaten scraps, look at starting a second bin or finding ways to cut your food waste before it reaches a bin.
After a few weeks to months, you’ll have what gardeners call “black gold” that you can add to your garden to help you grow amazing new food or flowers and you will have significantly started cutting the amount of waste you send to a landfill each week.
Amy Hartline is the recycling and education program coordinator for the Dalton-Whitfield Solid Waste Authority. Have a recycling question? Contact her at (706) 278-5001 or at ahartline@dwswa.org.