


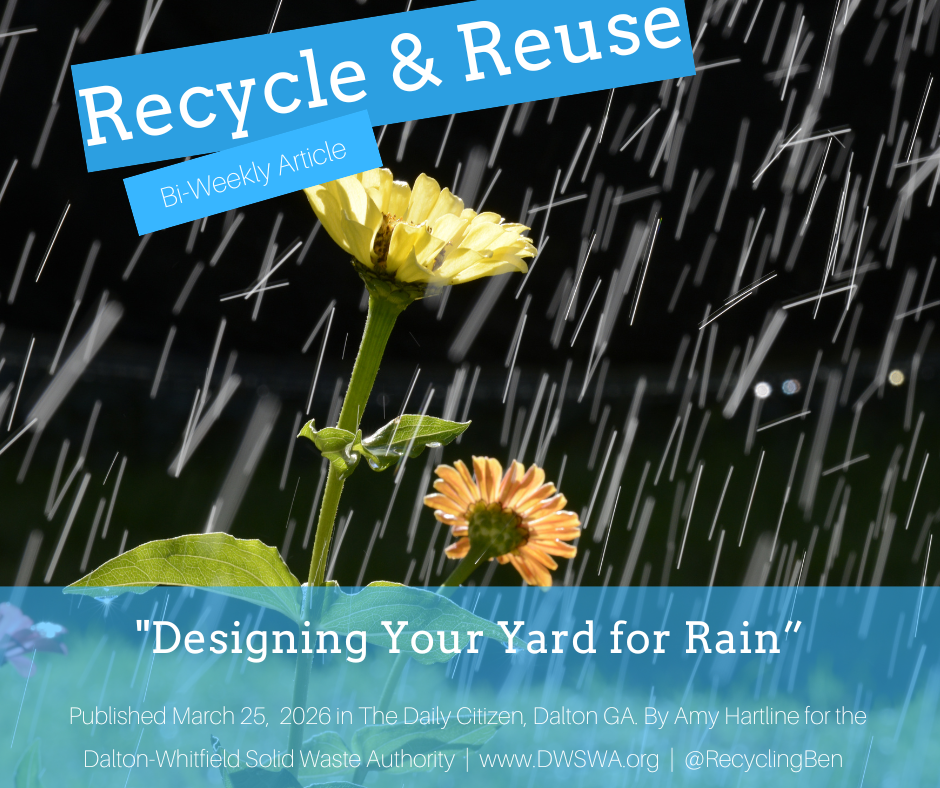


Designing Your Yard for Rain
/April showers bring May flowers and with a little planning we can use those April showers to our advantage. As we are getting back in our yards with the warmer weather, now is a great time to design and make your first rain garden. Rain gardens are specially placed and designed gardens can help reduce stormwater runoff and attract beautiful songbirds and pollinators to your home.
Planning out a rain garden helps give you a yard that works with instead of against our natural weather systems and can lead to many benefits. They help reduce our stormwater runoff, standing water, and erosion. Because they are designed to work with the native ecosystem and natural pooling of water, they also save you time and money by reducing landscape maintenance.
In the bigger picture, homes having rain gardens help support pollinators and native species by giving them better access to native plants. The way that rain gardens work also help filter pollutants before they reach streams. Since all our streams end up flowing into the Conasauga River, the most bio-diverse river in North America and one that is home to many endangered species, this is particularly important.
To start, figure out what size your rain garden needs to be by calculating your rooftop runoff area. Multiply the length and width of your roof to get the square feet and then multiple that by .15. If your calculation ends up meaning you need more than 300 square feet, you should consider designing more than one garden for it to be able to function properly.
It is also good to keep a few safety precautions in mind. As always, call before you dig so that you don’t accidentally hit any underground utilities. You also want to avoid digging too close to building foundations and septic systems. Aim to stay at least 10 feet away from each.
The next time it rains, watch where the water naturally flows in your yard and if the area drains within a day or two. That is going to be the perfect spot for your garden. A good tip is to look where water from impervious surfaces like sidewalks and driveways ends up running off to.
Now that you know the size, the place, and have checked your desired location, you can get to digging. Shape the garden like a sloping bowl with a level bottom about three to eight inches deep. Put a small amount of earth around the downhill side of the garden to trap water for the garden. You can use mulch, gravel, and compost to amend the soil as needed for proper drainage.
Then the fun part of deciding what plants to use is next. I recommend native plants as they are best adjusted to the ecosystem already. Place flood tolerant plants in the center, moderate plants in the middle zone, and drought tolerant plants on the edge of your garden.
For flood tolerant native plants, consider the Tall Ironweed or the Swamp Rose. For moderate natives, I love Hydrangeas and Sweetshrubs. Sweetshrubs can also come with a fun history fact. In the past, the Cherokee would use the species for a root tea and George Washington beloved the scent so much he even had some planted in Mount Vernon. For the edge of your garden, consider the Dense Blazing Star or the Mouse-Eared Coreopsis. If none of these particular species strike your fancy, there are still plenty of options. Take a look at Thriving Gardens, a regional plant guide, produced by the Thrive Regional Partnership for more ideas.
Once your garden is planted, wait for those April showers to come in and watch nature at work. By carefully designing with natural systems, we can make our lives easier and support our environment at the same time. Don’t with those rainy days away, just prepare for them!
Amy Hartline is the recycling and education program coordinator for the Dalton-Whitfield Solid Waste Authority. Have a recycling question? Contact her at (706) 278-5001 or ahartline@dwswa.org.